So I got this early springer a while ago it was about 8 over and painted black
I just didnt trust the extension being that I didnt know who did it etc and Ive seen some really bad ones so I start to sand the paint off on the rear legs and discover a ton of bondo which isnt good at all
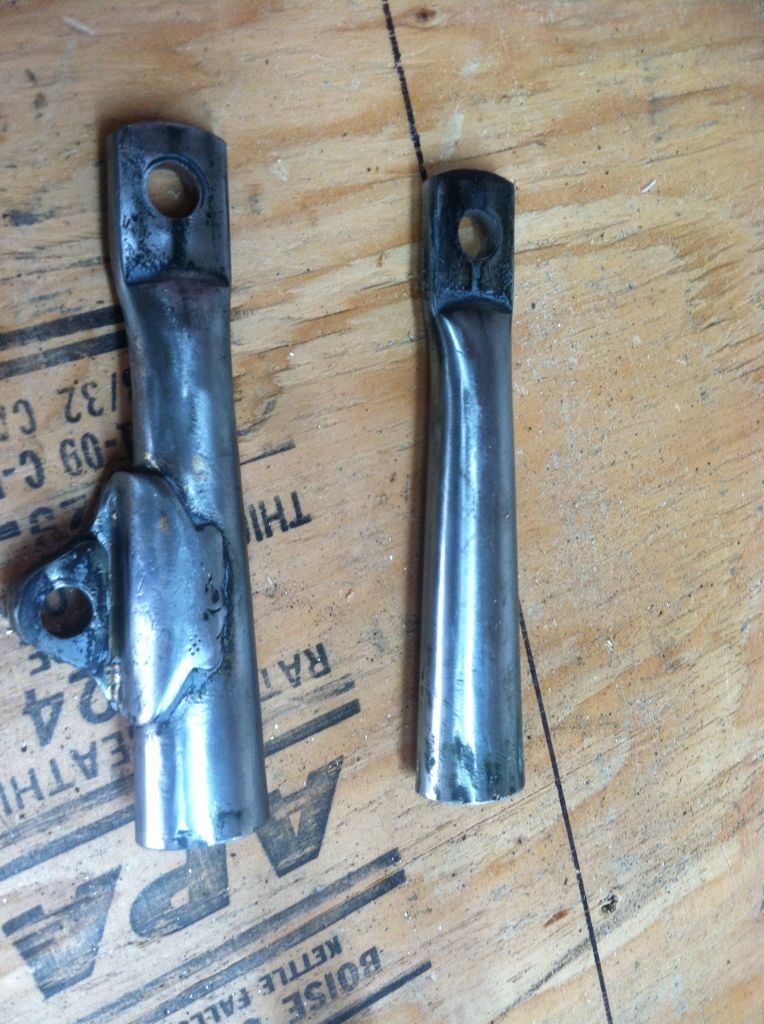
I get it down to metal and discover that the extension was a piece of round tube that was hammered to be kind of oval shaped hence all the bondo and it had awful weld seams
and the extensions were slugged with pieces of rebar and not even plugged welded so this was a death trap waiting to happen
not trusting that I decided to take it all apart and cut out the extensions
and bring it back to stock length
thankfully who ever did the extension was at least smart and cut well below the crown area on the legs leaving the top of the legs intact
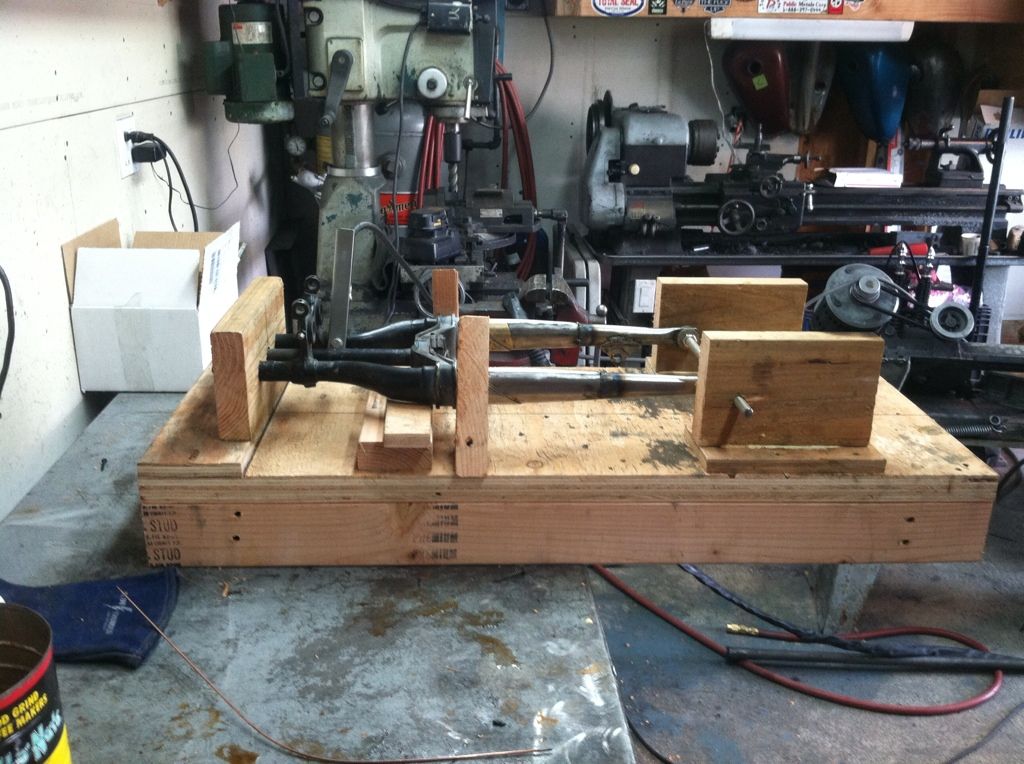
so I made up a jig for it and had at it
I dont have any good before pics but you can see the top part of it on the table in the background with the legs cut
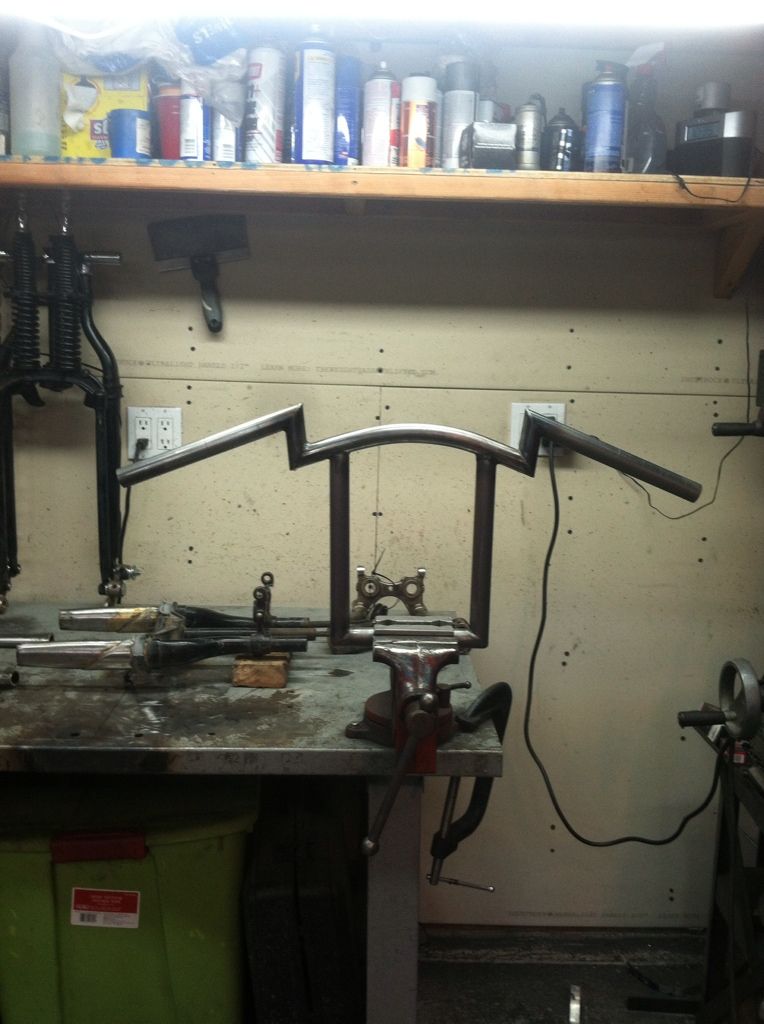
these were the bottom pieces that were left intact also and can be reused
first order was to borrow my friends stock springer and get good accurate measurements off of it
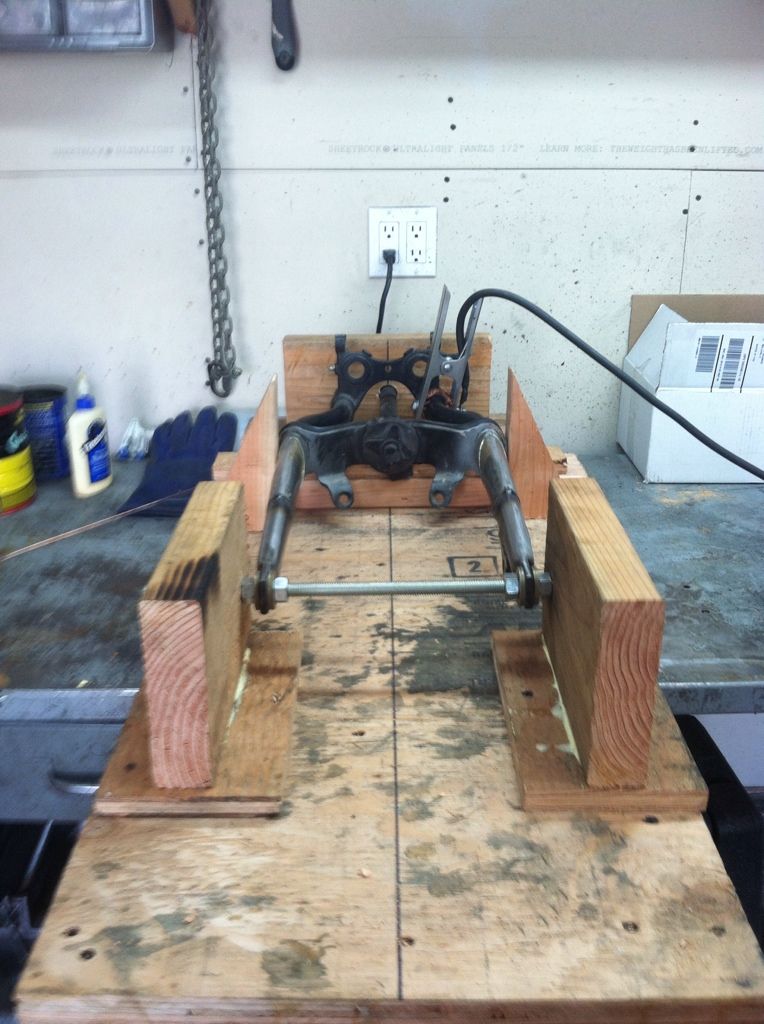
then start building a platform for the jig
I decided to make the jig out of wood because its easier to work with
it was free since I had all the materials at my house
and it can be broken down easy for storage when its not being used
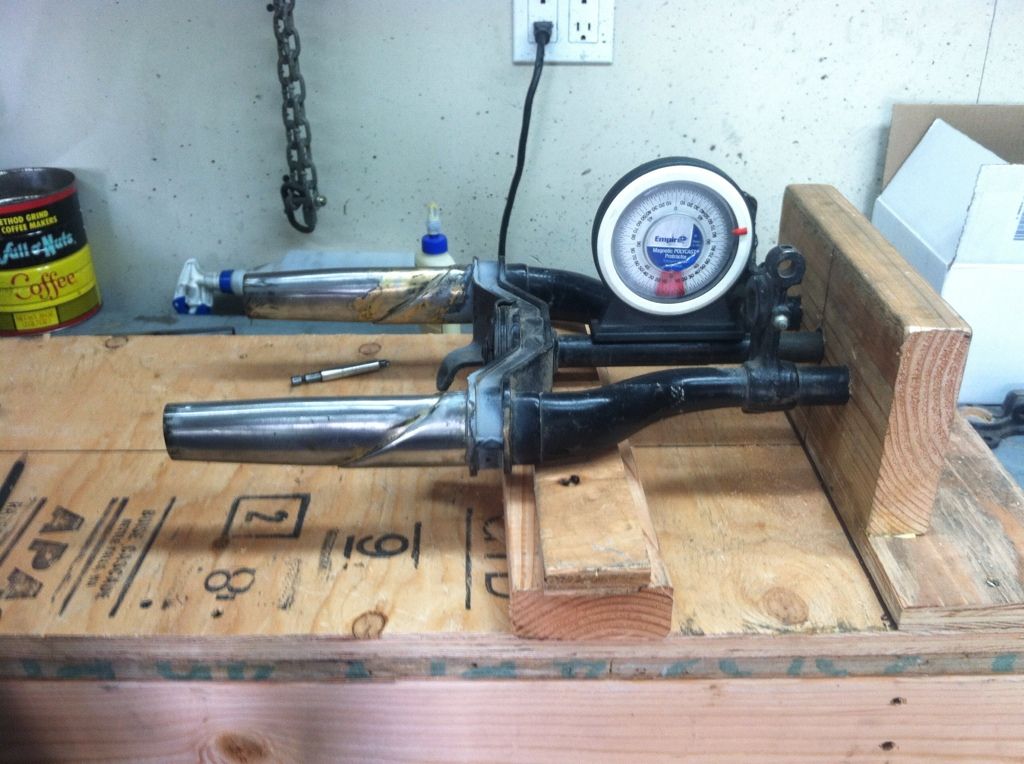
measuring and leveling everything up plumb with the neck area in the neck chock
cleaning out the insides of the legs with a wire wheel
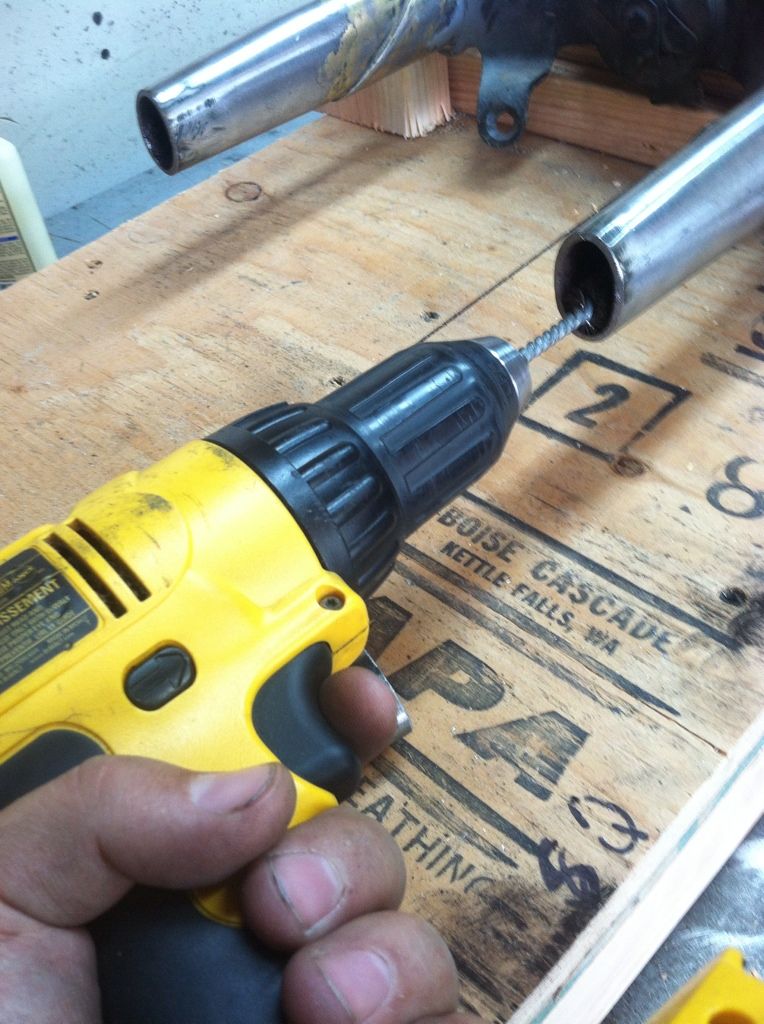
I pressed some 1" OD .120 wall thick DOM tubing to fit the oval shape to fit inside of the leg areas that needed to be joined together
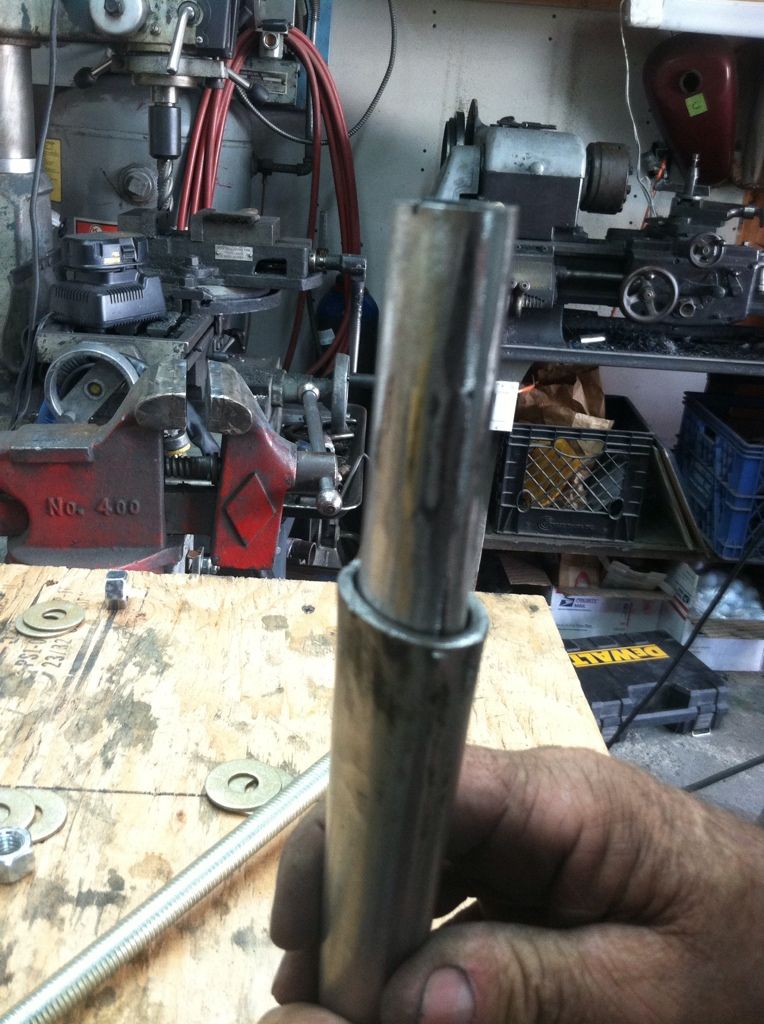
fitted them nice then welded them in
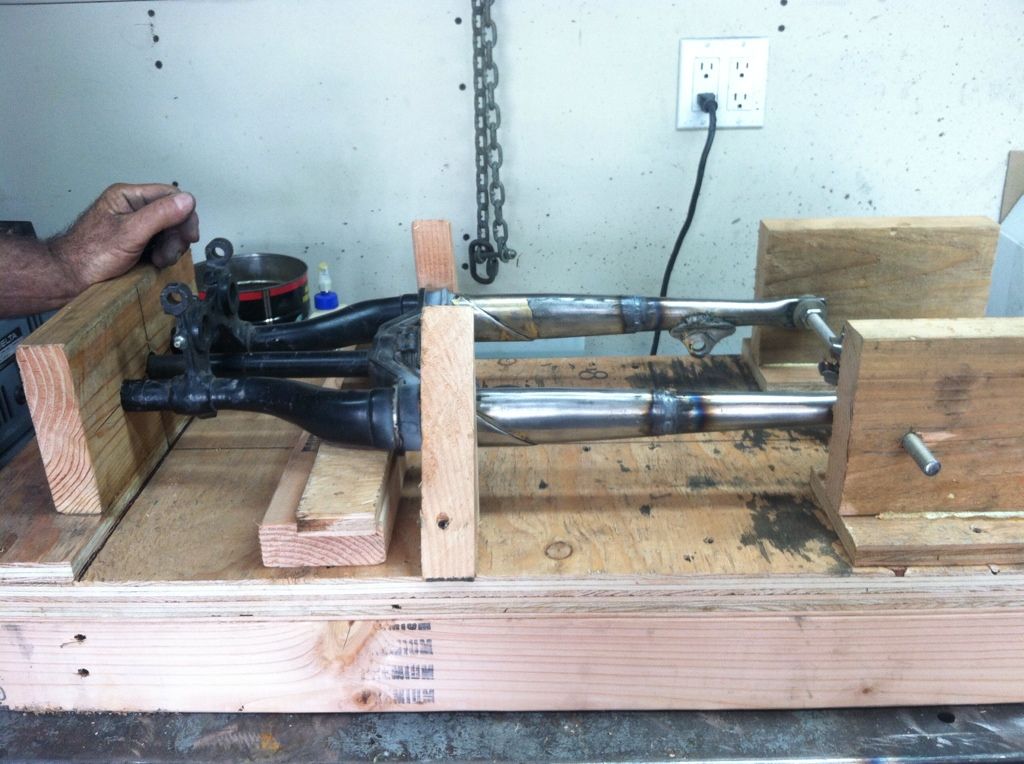
figured out the height the legs needed to sit at then tacked one into place
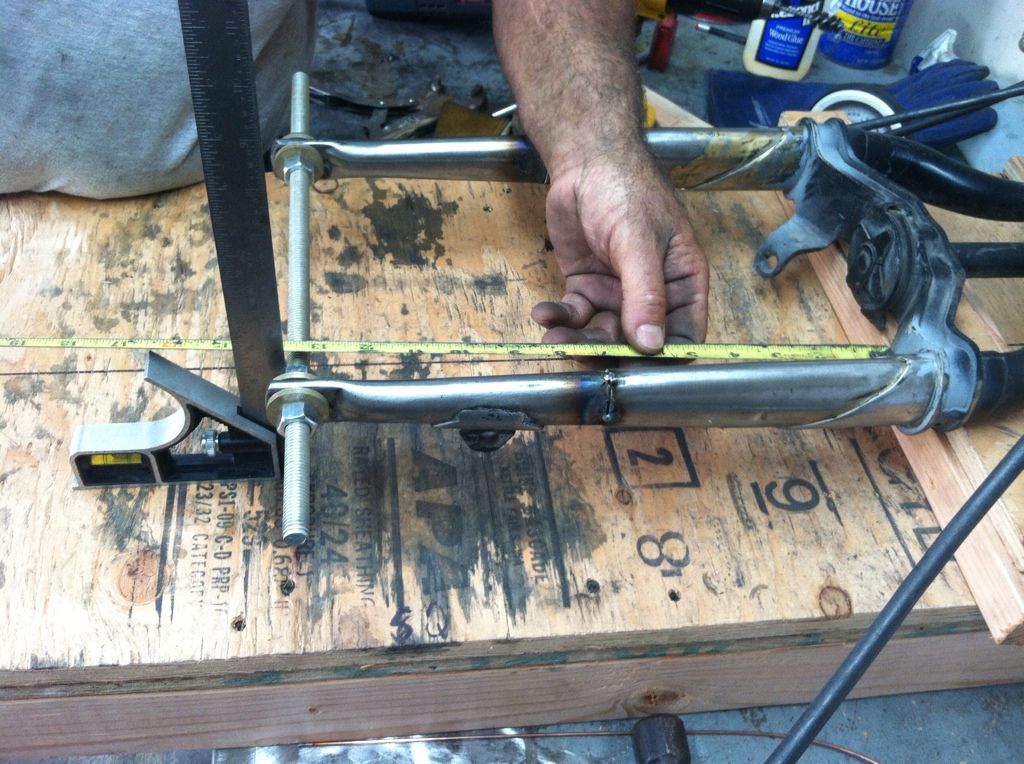
did the same for the other side then measured and aligned everything and set up the lower leg blocks with some threaded rod through the rocker mounting tabs on the bottom to set the legs properly
both legs tacked into place here and everything is all set up properly ( I just moved the jig to take this pic)
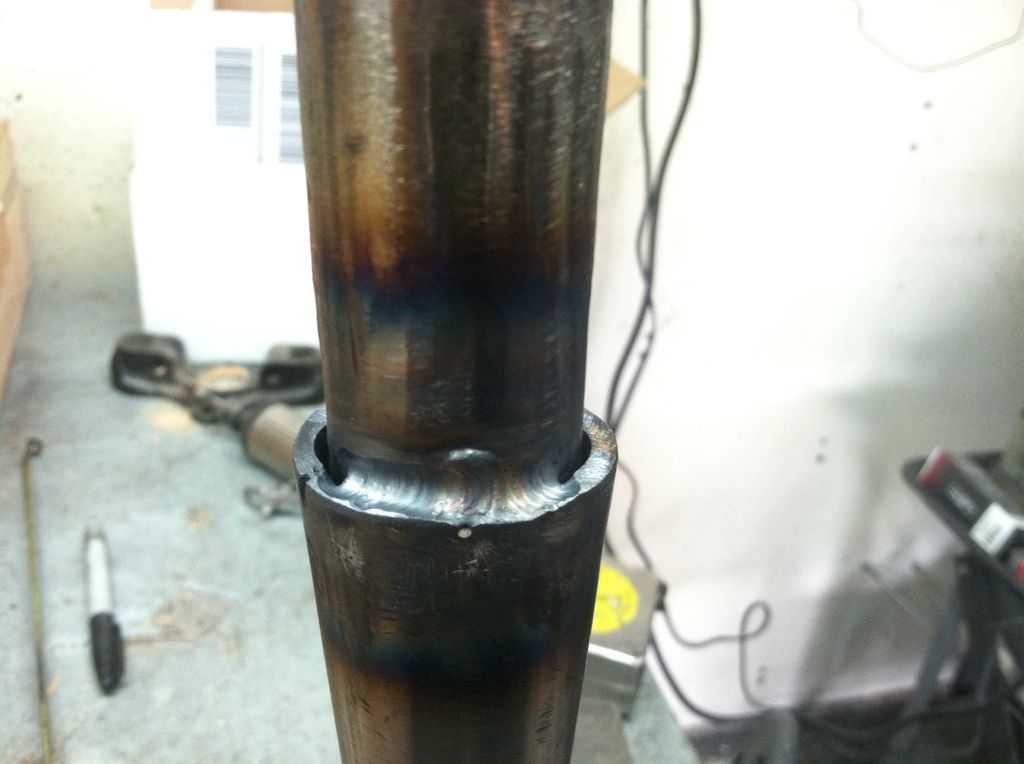
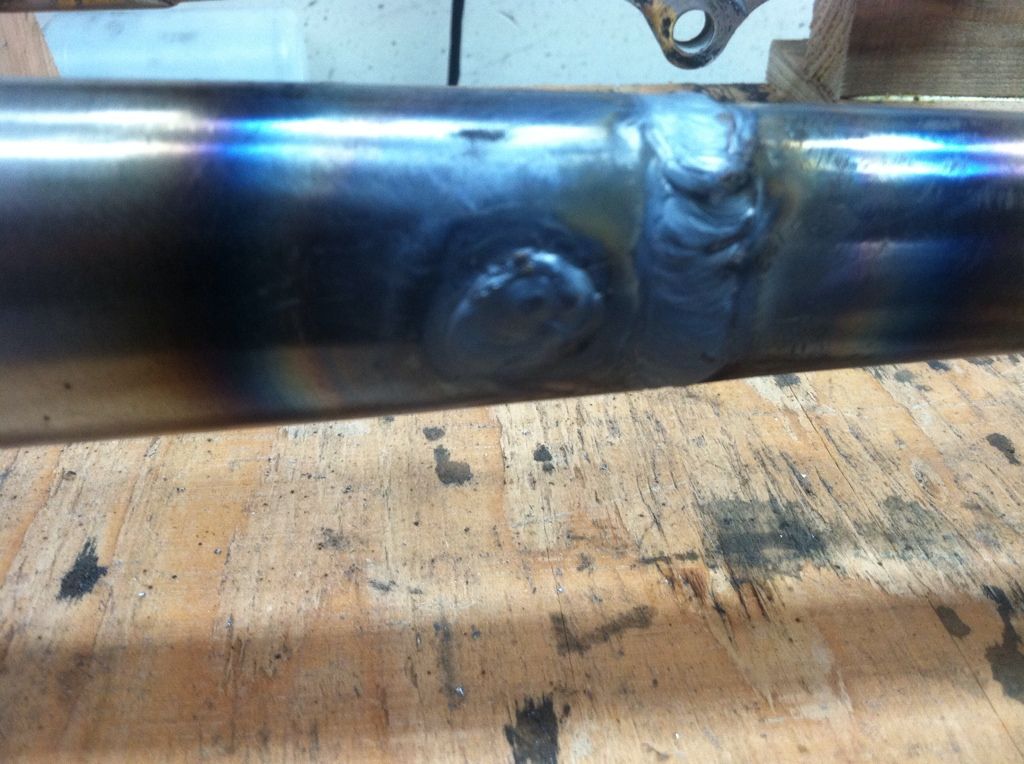
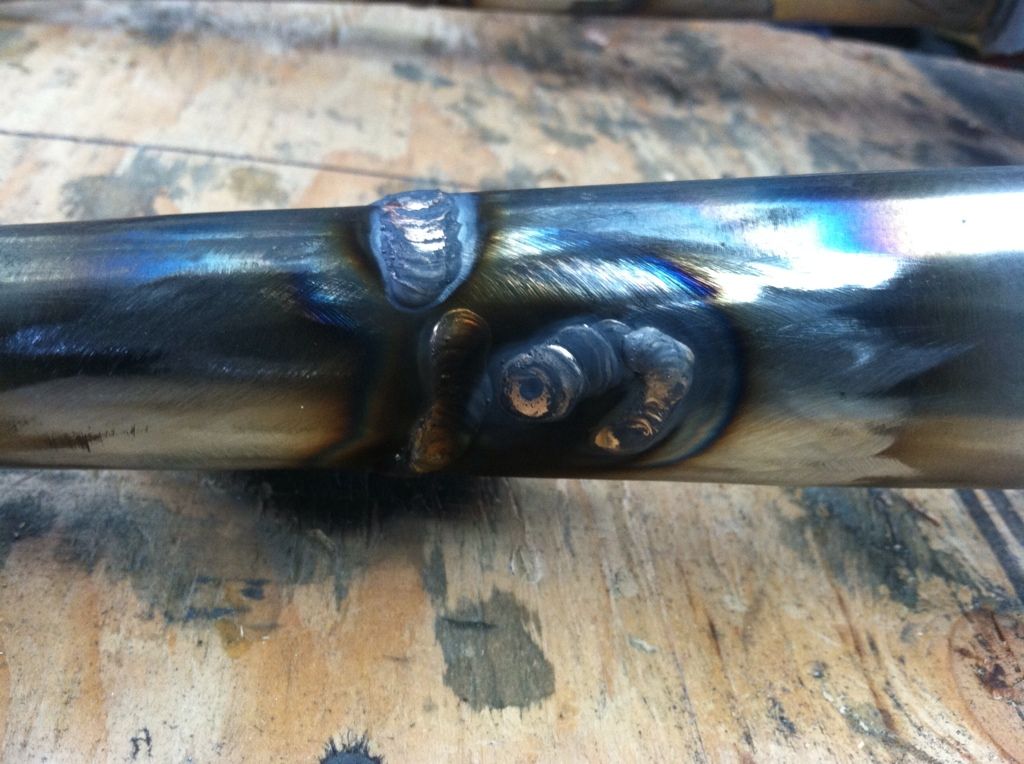
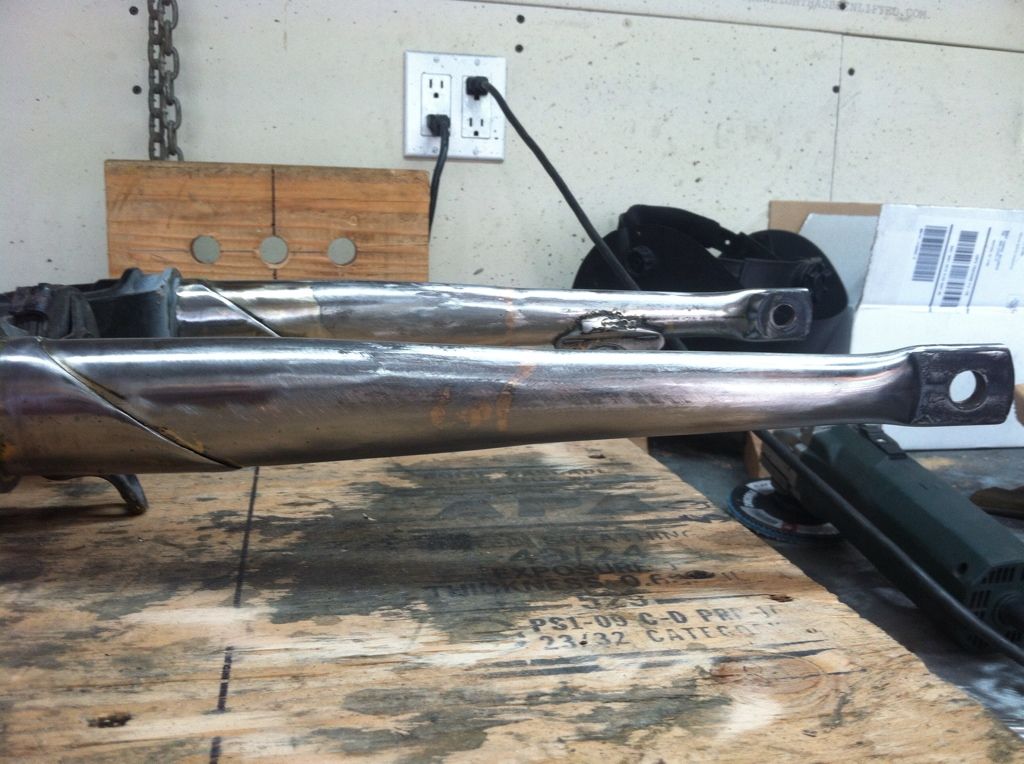
first pass with the tig welder
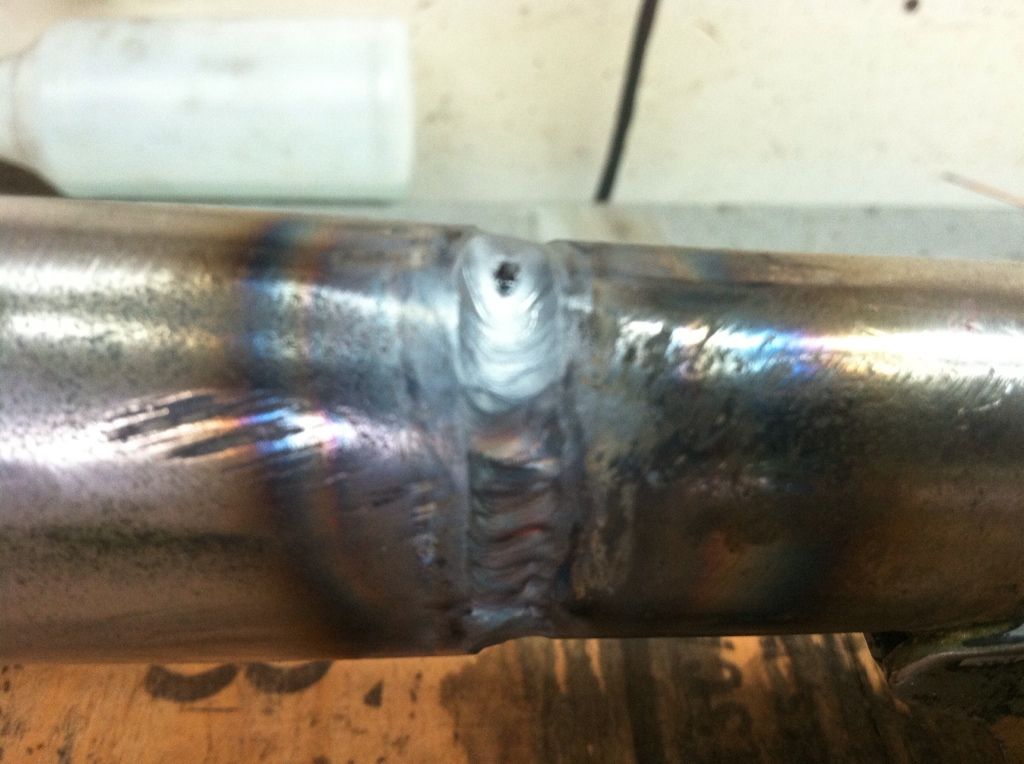
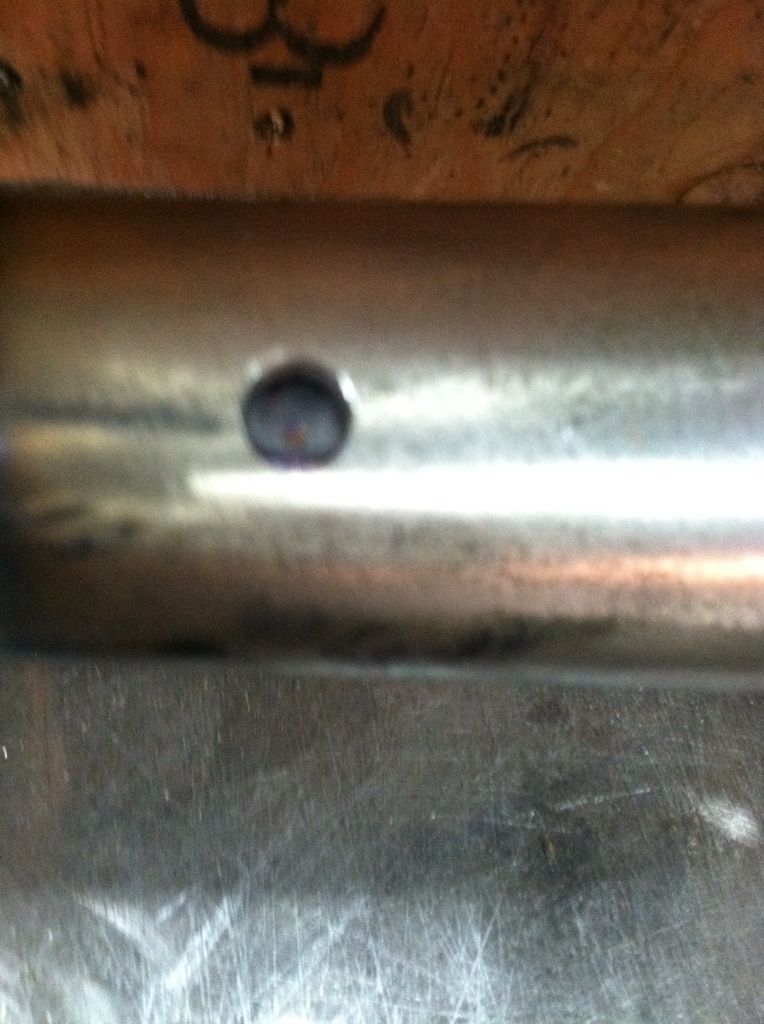
plug weld for the inner piece of tubing (slug)
second pass with the tig to build up the seam so it can be ground down and even out the seam and plug welds on the legs
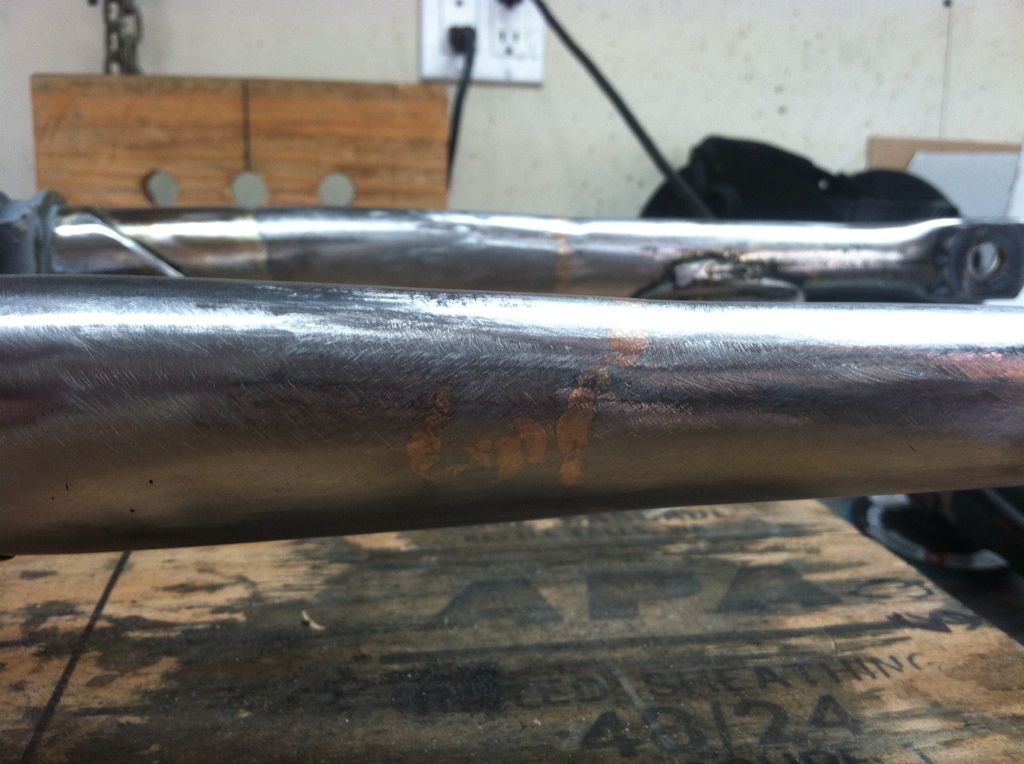
after the first light pass with a flap disc there are a few little low spots

I like to go over the low spots with silicone bronze rod as it fills better and requires less heat as this is just to fill the low spots in the metal
heres the legs all blended just need to go over it with a D/A sander quick and file and possibly another pass of silicone bronze in a few spots
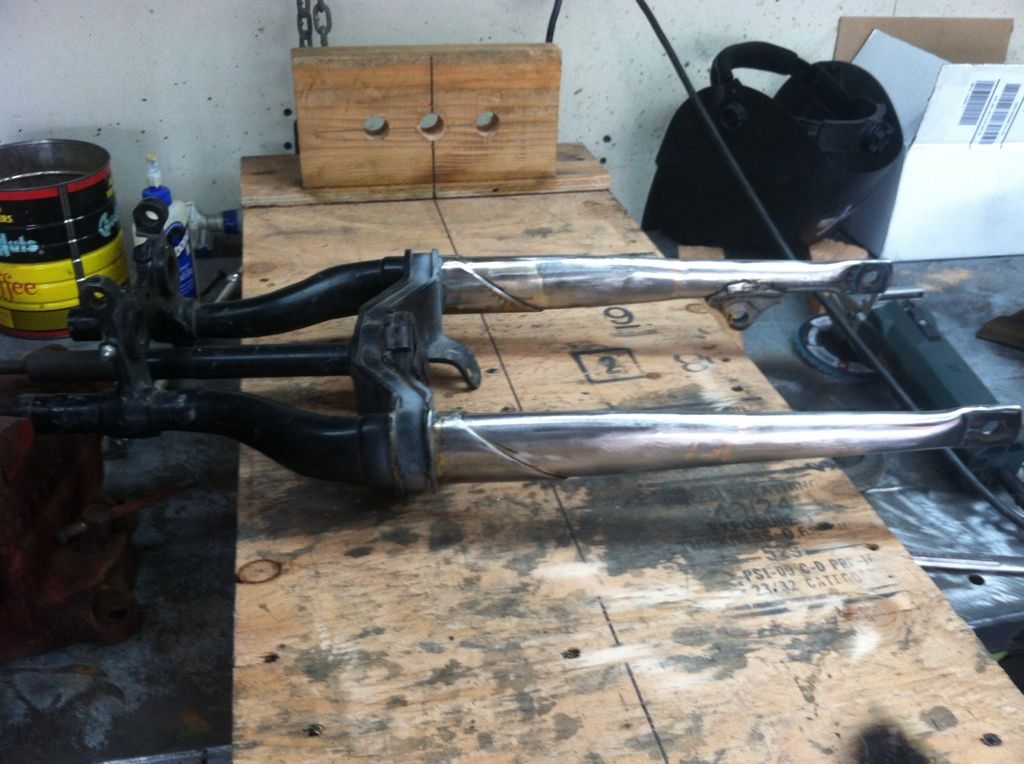
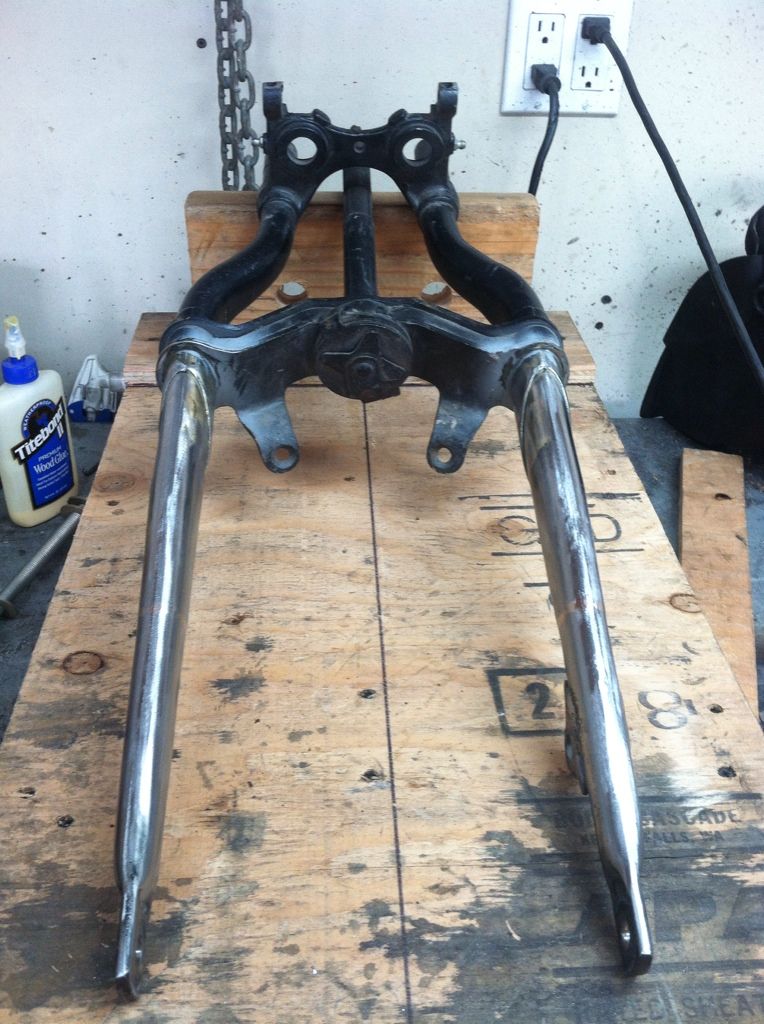
you can see here that everything is all back together just need to do some minor cosmetic finishing to it and its all done
back to stock length and saved from the trash heap
(just note that the welds were left to completely cool in the jig before I ground them down to ensure that nothing moved out of place)
I measured and checked it against my friends stock springer and its spot on


 these were the bottom pieces that were left intact also and can be reused
 first order was to borrow my friends stock springer and get good accurate measurements off of it
then start building a platform for the jig
I decided to make the jig out of wood because its easier to work with
it was free since I had all the materials at my house
and it can be broken down easy for storage when its not being used
measuring and leveling everything up plumb with the neck area in the neck chock
first order was to borrow my friends stock springer and get good accurate measurements off of it
then start building a platform for the jig
I decided to make the jig out of wood because its easier to work with
it was free since I had all the materials at my house
and it can be broken down easy for storage when its not being used
measuring and leveling everything up plumb with the neck area in the neck chock
 cleaning out the insides of the legs with a wire wheel
 I pressed some 1" OD .120 wall thick DOM tubing to fit the oval shape to fit inside of the leg areas that needed to be joined together
 fitted them nice then welded them in
 figured out the height the legs needed to sit at then tacked one into place
 did the same for the other side then measured and aligned everything and set up the lower leg blocks with some threaded rod through the rocker mounting tabs on the bottom to set the legs properly
 both legs tacked into place here and everything is all set up properly ( I just moved the jig to take this pic)
 first pass with the tig welder

 plug weld for the inner piece of tubing (slug)
 second pass with the tig to build up the seam so it can be ground down and even out the seam and plug welds on the legs
 after the first light pass with a flap disc there are a few little low spots
 I like to go over the low spots with silicone bronze rod as it fills better and requires less heat as this is just to fill the low spots in the metal
 heres the legs all blended just need to go over it with a D/A sander quick and file and possibly another pass of silicone bronze in a few spots
 you can see here that everything is all back together just need to do some minor cosmetic finishing to it and its all done
back to stock length and saved from the trash heap
(just note that the welds were left to completely cool in the jig before I ground them down to ensure that nothing moved out of place)
I measured and checked it against my friends stock springer and its spot on
you can see here that everything is all back together just need to do some minor cosmetic finishing to it and its all done
back to stock length and saved from the trash heap
(just note that the welds were left to completely cool in the jig before I ground them down to ensure that nothing moved out of place)
I measured and checked it against my friends stock springer and its spot on


No comments:
Post a Comment